Saturday, April 29, 2006

Silver Eye


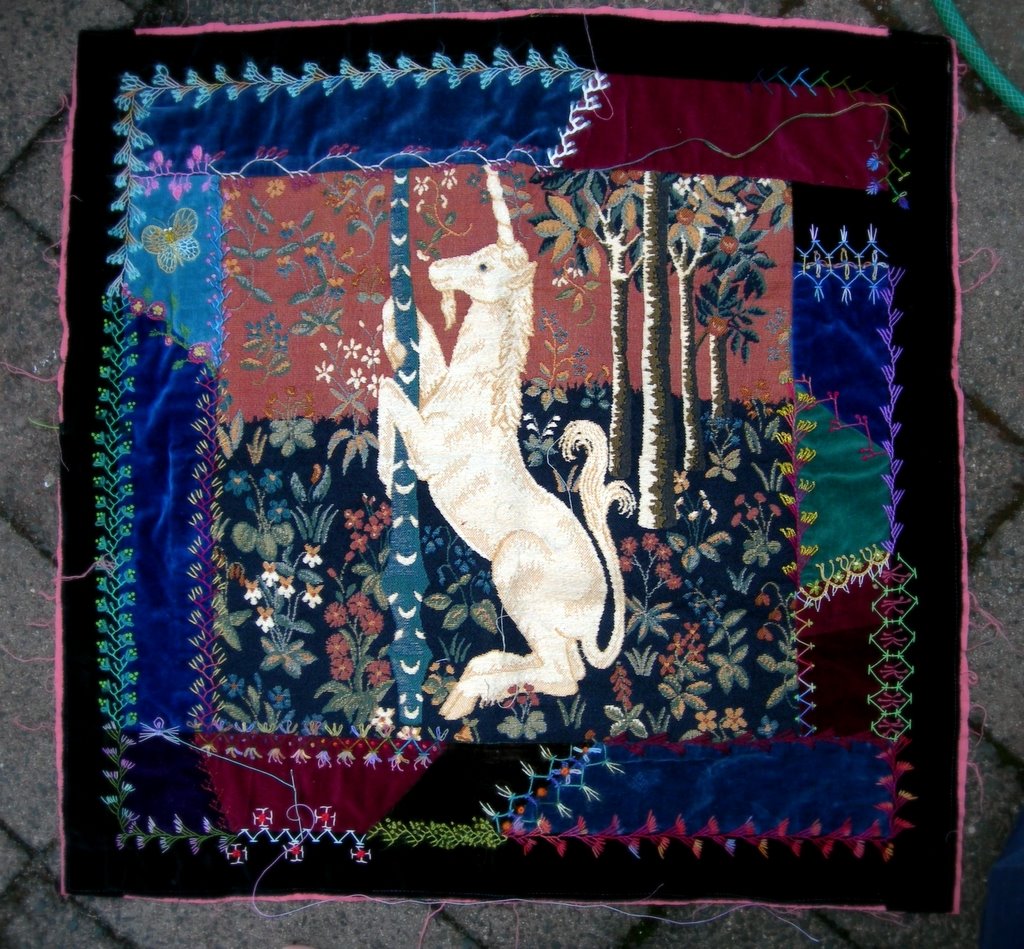
Silver Eye's used to flit about on the property where I lived when I made the Crazy Quilt, but I didn't realise until later.

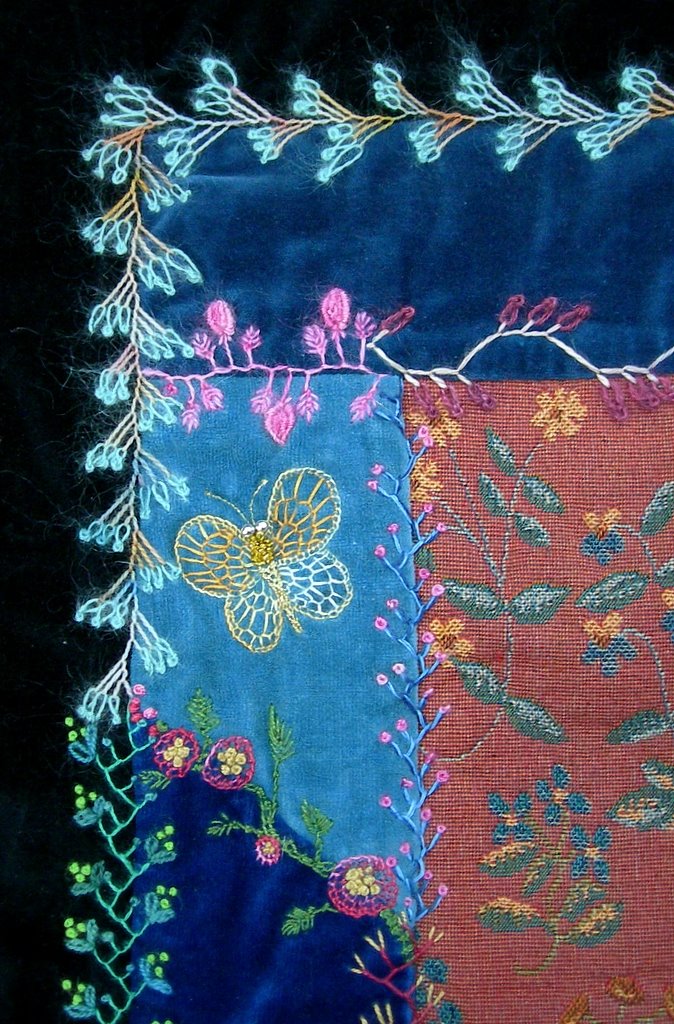
The detailed picture here is larger than the original embroidery, which measures 7cm (just under 3inches) across.

When you stitch in this 'Needle Painting' style, always use ONE thread of stranded or similar thread. You have a lot more control, and will get a finer result. Two threads won't lay properly without prompting and any time you think you're saving is wasted. It doesn't take as long as you'd think anyway.

Take your time and place each stitch deliberately. I would, in this case, work the satin stitch sections of the wing first, being careful not to overlap the 'feathers'. Actually, that's very important. If your lines are ill-defined, the picture becomes muddy or messy right there.

With the needle-painting, work in the main colours with random-length stitches (which takes concentrating as we tend to naturally want to work evenly!). Next, blend with in-between colours, a stitch here and a stitch there. Squint a bit now and then to see how it's going. Leave a gap for the eye, raher than adding it on top, which makes it look boggle-eyed. The legs are worked first in Chain or Stem stitch, with Satin stitch over the top.

I worked the background in afterwards.

It's a pretty little bird, but had I thought it through a bit more, I would have embroidered it on a complimentary-coloured background, rather than the similar gold silk.

Hindsight is a beautiful thing.

Wednesday, April 19, 2006

A Glimpse Of My Latest...


I'm sorry in advance, for not giving you enough... or proper pictures... and for being sketchy about the desired outcome... but it's still a little bit under wraps. I love a dramatic launching and all that, and hope to get something new and exciting and never before seen etc. into July's Jeff's Shed Vic Quilter's Bash.

The big pictures here are visual 'quotes' from a magnificent book called 'Rapt In Colour' put out by The Powerhouse Museum and The Museum of Korean Embroidery. I have mentioned it before, but say again, it's worth its weight in golden-foil-wrapped Lindt chocolate, even in plain gold. Lindt-coated gold, or vice versa.

The once-again badly photographed (pink) photo is of a little thing I'm working on to fit into another bigger thing I'm working on. The pictured from the book influenced the pink thing, and many others in between, including BC1 (Brown Cloth 1) in the cards.

I do apologise again and again with much bowing and scraping for the shonky photo, it's just that I'm impatient to add posts so as not to be boring, but I'm leaving and getting home in the dark at present.... if you could find it in your heart to forgive me I'd be most grateful. Of course I'll change the picture ASAP.

This method is 'building', which I go on about because it's so good to do. Like 'Log Cabin' but unstructured and completely organic. Go any which way you choose. Try it!

Friday, April 07, 2006

The Lion & The Unicorn Floor Cushions

This is the nice corner of yet another cushion top, a floor cushion. It's pair is well worn so I shounld get a wiggle on and finish this... It's too dark to photograph the other now so it'll have to wait.
I love the gloss mohairs available, and working on something like this looks good with big, fat stitches. I have a few more of the tapestry slips here too, but really have gone slightly off the style these days... I mean, they're classic and innately lovely, but I'm a bit over the symbolism and the medieval style... as far as emulating it is concerned at least.
I want to be now baby!
Maidenhair stitch is a beautiful thing, and can be embellish endlessly, like all of the others (just thought I'd share that with you).
(And you know what, I just noticed how less sombre my colour choices are these days. Compare this to the previous post!, which is much newer, must be like... I used to be skinny and now I'm a bit chubby and people say it's because I'm happy!)

Thursday, April 06, 2006

Future Cushion Top


This is a piece I put together a little while ago. I have an idea to put a whole lot of swooping bluebirds across it, and do the border stitching in a soft Duck Egg colour, maybe only in simple Feather Stitch. Perhaps. Anyone who knows me will laugh... things often start out to be simple, but... well... the thing is, the piece dictates how you go along and sometimes it works better to be more elaborate.
I have a tan rabbit fur jacket someone gave me (probably my daughter Claire), and I'll make the cushion up in somewhat the same manner as The Rabbit Cushion, with the sections around the sides pieced in both fur and fabric, then the back in fur. That orange velvet you see in the picture is the most luscious velvet in the known world... I have the tiniest amount so it'd better amount to something in the end. I'll probably go the bobble fringe again???
You will notice that my patches are appliqued, rather than 'flip and sewn'. I much prefer this method, and feel it gives me a better ground for embroidery. I can place the pieces wherever I want. The flip and sew method means every piece has a centre, and every piece has long, straightish patches surrounding that middle and I find it limiting, although it really is just a different approach.
The patches are sewn on with a Ladder Stitch, simply running inside the fold of the top patch, and then down into the ground fabric. There is no need to be too close-stitching as the embroidery goes over the top.